




Product Details

LOADING IMAGES
60.0 %


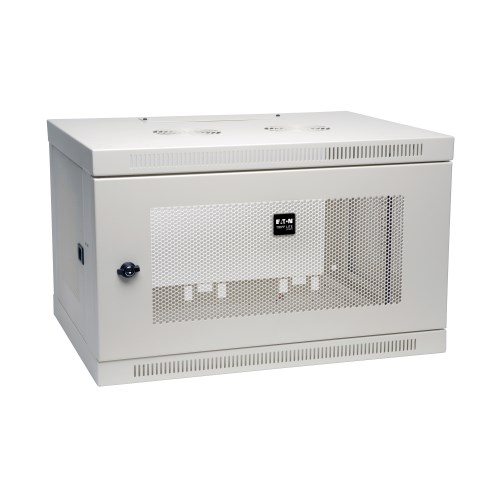
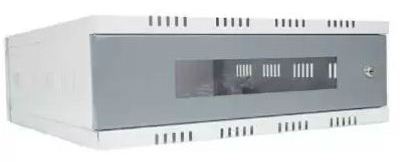
SAFEVue 2U Wall Rack
₹ 800.00
₹ 1,999.00
Inclusive of all taxes
Share :
Product Details
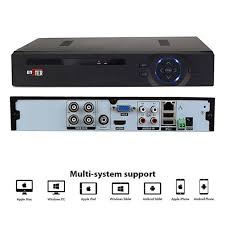
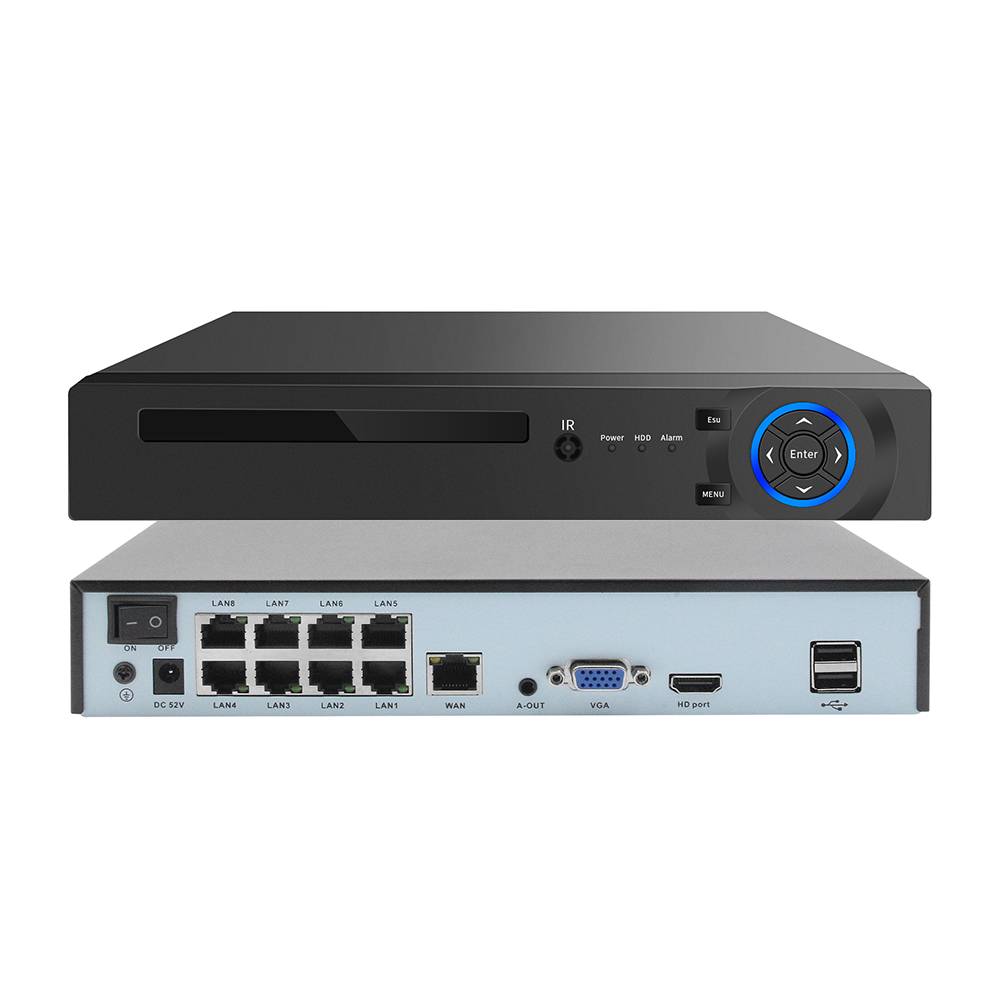
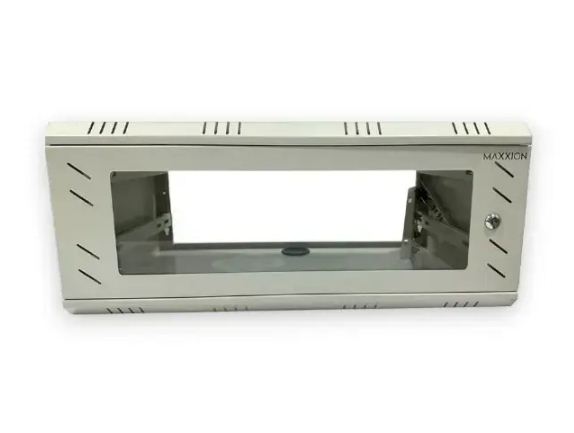
A Safevue 2U wall rack (or similar 2U CCTV/Network cabinets) is designed for compact, secure storage of DVRs, NVRs, or routers, usually measuring around 40x40x15 cm. These units typically feature a lockable front door, integrated power sockets, and cable management holes.
Here is a guide on how to set up and install a 2U wall rack:
1. Preparation and Inspection
Verify Equipment Size: BeforeRead More
12 Months Warranty
Free Shipping Countrywide
Easy Return
Pay on Delivery Available
Serviced Across India
A Safevue 2U wall rack (or similar 2U CCTV/Network cabinets) is designed for compact, secure storage of DVRs, NVRs, or routers, usually measuring around 40x40x15 cm. These units typically feature a lockable front door, integrated power sockets, and cable management holes.
Here is a guide on how to set up and install a 2U wall rack:
1. Preparation and Inspection
- Verify Equipment Size: Before drilling, ensure your DVR/NVR fits within the dimensions (approximately 40x40x15cm). Note that some 2U racks have a, maximum depth, requiring you to check if your device fits.
- Unpack Components: The box should contain the rack cabinet, wall mounting brackets, screws, nylon sleeves, and keys.
- Identify Mounting Surface: Ensure the wall can support the weight of the rack and equipment (concrete/brick is best).
2. Mounting the Rack to the Wall
- Positioning: Determine the installation height.
- Mark Holes: Use the back panel or mounting brackets to mark the drill holes on the wall. Ensure it is level.
- Drill and Secure: Drill holes, insert nylon wall sleeves, and firmly fasten the rack to the wall using the provided screws.
- Reverse Brackets (Optional): Some 2U racks come with reversible mounting brackets to accommodate different mounting needs.
3. Installing Equipment (DVR/NVR)
- Mounting the Device: Place your NVR/DVR inside the rack.
- Secure the Equipment: Use the rack-mount ears (if your device has them) to screw the device into the 2U vertical rail holes. If it is a basic cabinet, place it directly on the bottom surface.
- Cable Management: Run cables through the top or
How can I help you ?